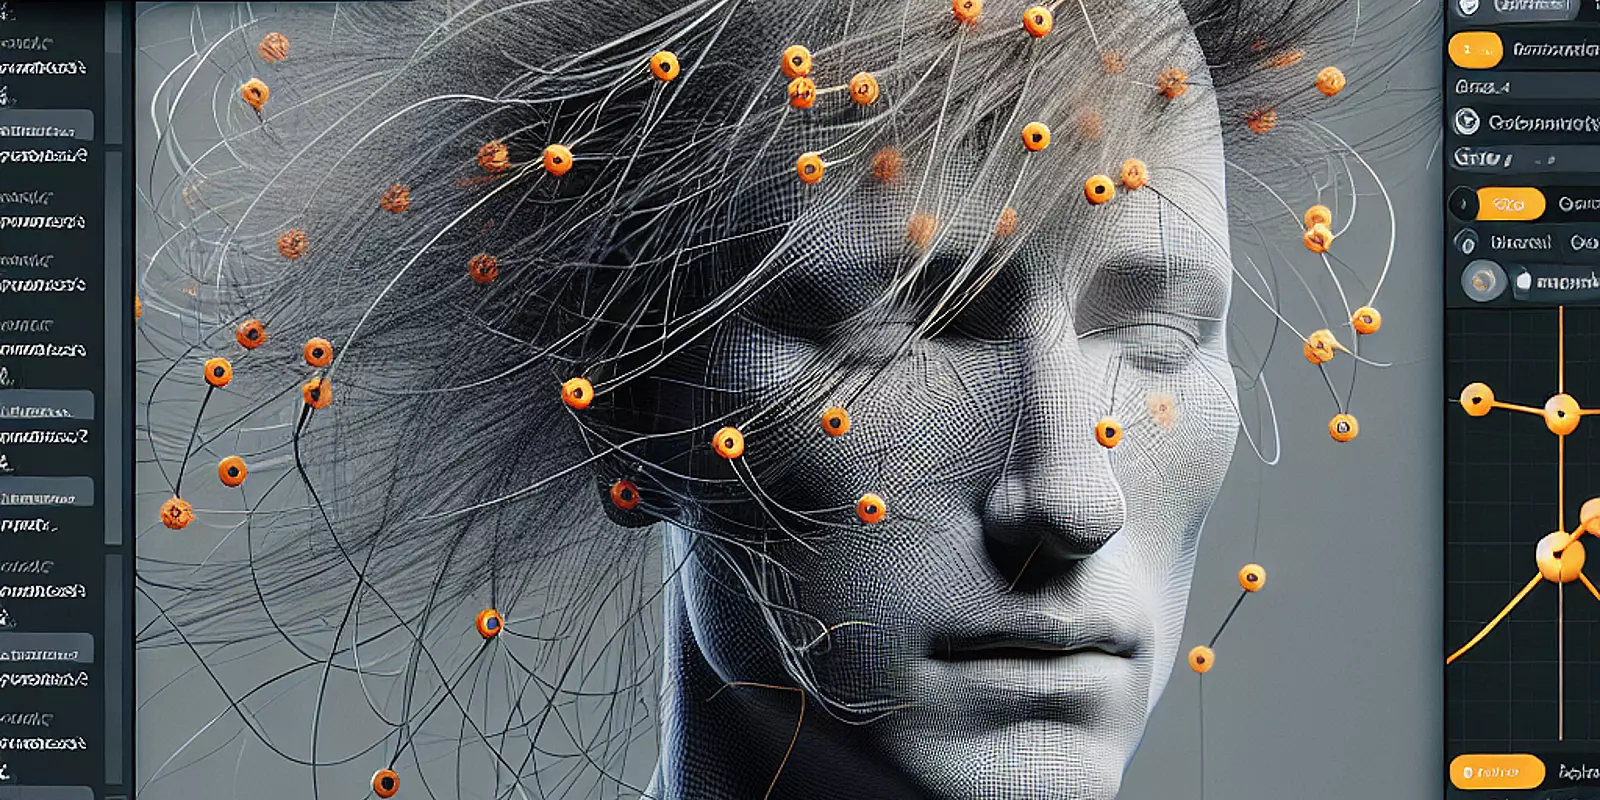
When it comes to architectural visualization, the smallest details make the most significant impact. Integrating elements like hair, fur, and grass can transform a 3D project, taking it from impressive to extraordinary. Blender 3D offers a robust hair particle system that adds realism to these natural elements, although mastering it can be demanding. From getting the right particle density to converting hair particles to mesh, artists often encounter hurdles that can limit their creativity. This guide will help navigate these challenges using tools like Bezier curves and Geometry Nodes, empowering you to fully utilize Blender’s capabilities.
The hair particle system in Blender 3D is a powerful tool for creating lifelike strands in 3D settings. These particles simulate the delicate dynamics of hair, offering flexibility in adjusting their length, density, and curve. However, these capabilities come with their own set of challenges. Issues such as achieving the desired hair shape, rendering performance, and transitioning particles to mesh can be particularly troublesome in architectural renderings that require precision. Grasping these challenges is vital for producing sophisticated and visually stunning projects.
Optimized workflows are crucial in Blender for achieving stunning results without frustration. Begin by setting up the particle system's parameters, including hair length and density, in the Particle Properties panel. Proper configuration aids in smoothly making artistic adjustments.
After configuring the particles, convert them to mesh objects to afford greater control over final touches. This practice is especially useful in complex models, enabling cohesive integration of hair elements into architectural or environmental designs. Tools like Bezier curves add finesse and style to the hair, aligning closely with your scene’s vision.
Geometry Nodes further enhance flexibility by allowing procedural hair generation and manipulation based on various parameters. This approach simplifies real-time adjustments, thereby enriching the creative process and ensuring high-quality visual outputs.
Turning hair particles to mesh in Blender can be straightforward when following a structured process. Select your object with applied hair particles, and navigate to the Particle Properties tab. After styling, press 'Alt + C' and select 'Mesh from Particles' to initiate conversion. This enables intricate editing and manipulation of hair geometry.
Bezier curves offer enhanced control over hair design, permitting meticulous shaping with precision. To maximize flexibility, convert the curve back into a mesh, forming a start for the hair framework. For dynamic adjustments, utilize Blender's Geometry Nodes. Incorporate the 'Mesh to Points' node for careful distribution, length, and thickness control, yielding natural variations.
Navigating Blender's hair particle system often leads to frustrations. Common issues include inconsistent particle behavior across rendering environments. Adjust settings in the 'Children' parameters for 'Rendered' and 'Display' to ensure uniformity between styled viewports and final renders.
Realistic hair length and thickness, especially in natural scenes like vegetation, can be challenging to manage. The 'Weight Edit' tool offers exact control over hair distribution, and Bezier curves ease the conversion from particles to mesh.
The latest Hair Simulation Blender capabilities, like those introduced in Blender 3.0's Geometry Nodes, overcome previous system constraints. These nodes facilitate procedural hair setups that react dynamically to environmental conditions, expanding customization options. Being adept with these tools is essential for surpassing issues and achieving captivating results.
Mastering Blender's hair particle system involves overcoming challenges that affect workflow and quality, particularly within architectural visualization. By tackling issues like particle-to-mesh conversion and using Bezier curves alongside Geometry Nodes, artists can enhance their creative expression and push the limits of their artistry.
Future developments in hair simulation technology are expected to bring more intuitive interfaces and sophisticated algorithms, simplifying processes further. As technology evolves, new tools will streamline integration between hair dynamics and architectural modeling. Staying abreast of these advancements is crucial for leading in 3D artistry and maintaining competitive edge.
For practical insights, explore resources like this Blender Hair Particles Tutorial and learn about developing hair systems with Geometry Nodes. These examples provide valuable guidance on leveraging Blender's features effectively.